Step #1 - Find a pallet. I found a local business that sells kiln dried pallets for $6. I picked one up on Friday.
Step #2 - you need to separate the boards on the pallet. The easiest way is to saw the boards away from the two ends. I did this with a circular saw.
 |
| You can see the end in the background. |

 |
| Stain kit comes with sponge, latex gloves, and cloth to wipe off the excess. |

Step #6 - Allow the stain to dry. Once dry...if you stained over letters/design....peel off the design. You are now going to attach all the boards together in whatever pattern you want. I went to the local hardware store and got these flat plates that I screwed into each board. I attached one on each end of the board.
Step #7 - You are going to attach the wall hanging hardware. The flat hardware cost $3.49/package and I used 2. I already had the wall hanging hardware so no cost at this time.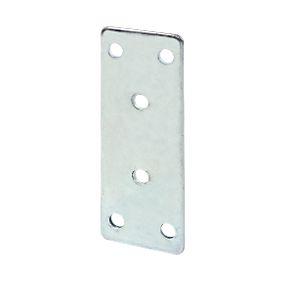 |
| My plates only had 4 holes...2 for each board.
|
Step #8 - Attach decorations or stencil on a saying. I had so many ideas swirling around in my head that I had about 3 different sayings laid out on the floor of Michaels. I purchased multiple ideas and came home to see which would work. Needless to say...I'll be returning items tomorrow.
Step #9 - Stand back and admire your handy work!

The funny thing is that I had that 'believe' sign hanging in a different part of the house. I just spray painted it yellow to go with my living room to make it my cheapest alternative.
The total cost of the project was approximately $40 so not a 'cheap' project...but I know it would have cost a lot more to buy it at a store. I have a lot of ideas swirling in my head for smaller projects and pinterest continues to grow the list! Use your imagine and come up with your own saying and colors!!!
Looks great!
ReplyDelete